Are you looking to upgrade your Corsair CPU cooler or clean it for better performance? Or maybe you’re facing overheating issues and need to troubleshoot the problem. Whatever the reason may be, removing a Corsair CPU cooler can seem like a daunting task.
But fear not, this comprehensive guide will walk you through the process step-by-step, ensuring a safe and smooth removal.
Contents
- Introduction to Corsair CPU Coolers
- Understanding the Need for Removing Corsair CPU Cooler
- Step-by-Step Guide to Removing Corsair CPU Cooler
- Tools Required for Removing Corsair CPU Cooler
- Precautions to Take Before Removing Corsair CPU Cooler
- Removing Corsair CPU Cooler: Common Mistakes to Avoid
- Troubleshooting Tips for Removing Corsair CPU Cooler
- Alternative Methods for Removing Corsair CPU Cooler
- Reinstalling Corsair CPU Cooler: A Complete Guide
- Video
- Conclusion
Introduction to Corsair CPU Coolers

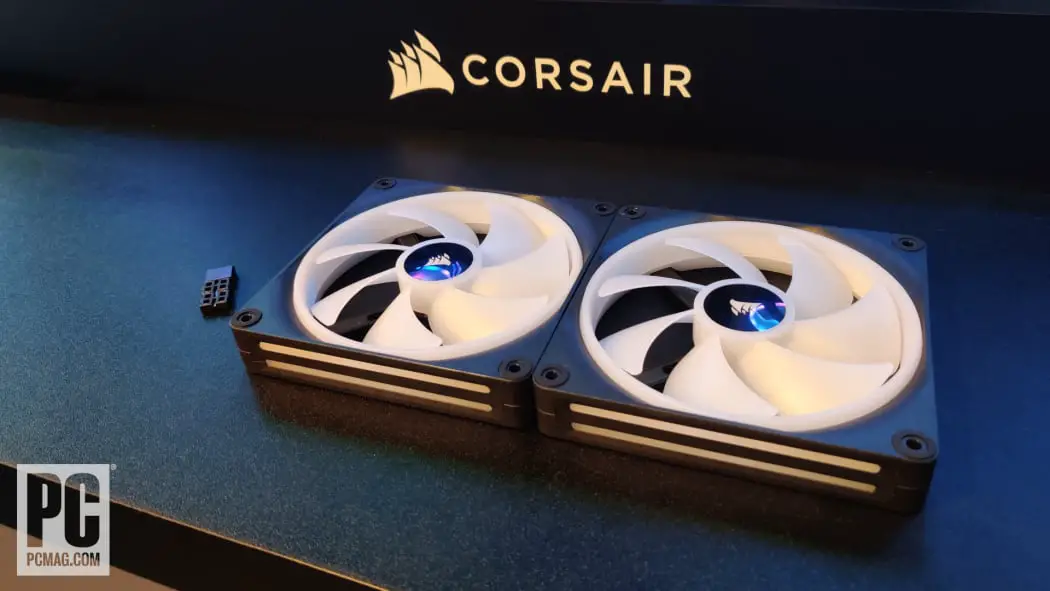
Corsair is a well-known brand in the world of PC components, offering high-quality and high-performance products. Their CPU coolers are no exception, with a wide range of options to suit different needs and budgets. From closed-loop liquid coolers to traditional air coolers, Corsair has something for everyone.
Their popular lines include the H100i, H115i, and Hydro Series, which feature all-in-one designs with radiators and fans for efficient heat dissipation. For those on a budget or looking for a simpler installation, Corsair also offers air coolers such as the A500 and A700.
Understanding the Need for Removing Corsair CPU Cooler
There are several situations where you might need to remove your Corsair CPU cooler:
- Upgrading to a new cooler: If your current cooler is struggling to keep up with the demands of your processor, it may be time to upgrade to a more powerful model.
- Cleaning: Over time, dust and thermal paste buildup can hinder the cooler’s performance. Removing the cooler for cleaning can help restore optimal cooling efficiency.
- Troubleshooting: If you’re experiencing overheating issues, it could be due to a problem with the cooler’s mounting, thermal paste application, or pump functionality. Removing the cooler can help identify and resolve these issues.
Now that we understand why removing a Corsair CPU cooler may be necessary, let’s dive into the step-by-step guide.
Step-by-Step Guide to Removing Corsair CPU Cooler
Before we begin, it’s essential to note that the process of removing a Corsair CPU cooler may vary slightly depending on the specific model you have. However, the general steps remain the same.
Step 1: Gather the Necessary Tools
To remove your Corsair CPU cooler, you’ll need the following tools:
- Screwdriver (Phillips or flathead, depending on the type of screws used)
- Thermal paste remover (optional)
- Isopropyl alcohol (optional)
- Lint-free cloth (optional)
It’s always a good idea to have these tools on hand before starting the removal process.
Step 2: Power Down and Disconnect Your PC
Before removing any components from your PC, it’s crucial to power down and disconnect it from all power sources. This includes unplugging the power cord and turning off the PSU switch if applicable.
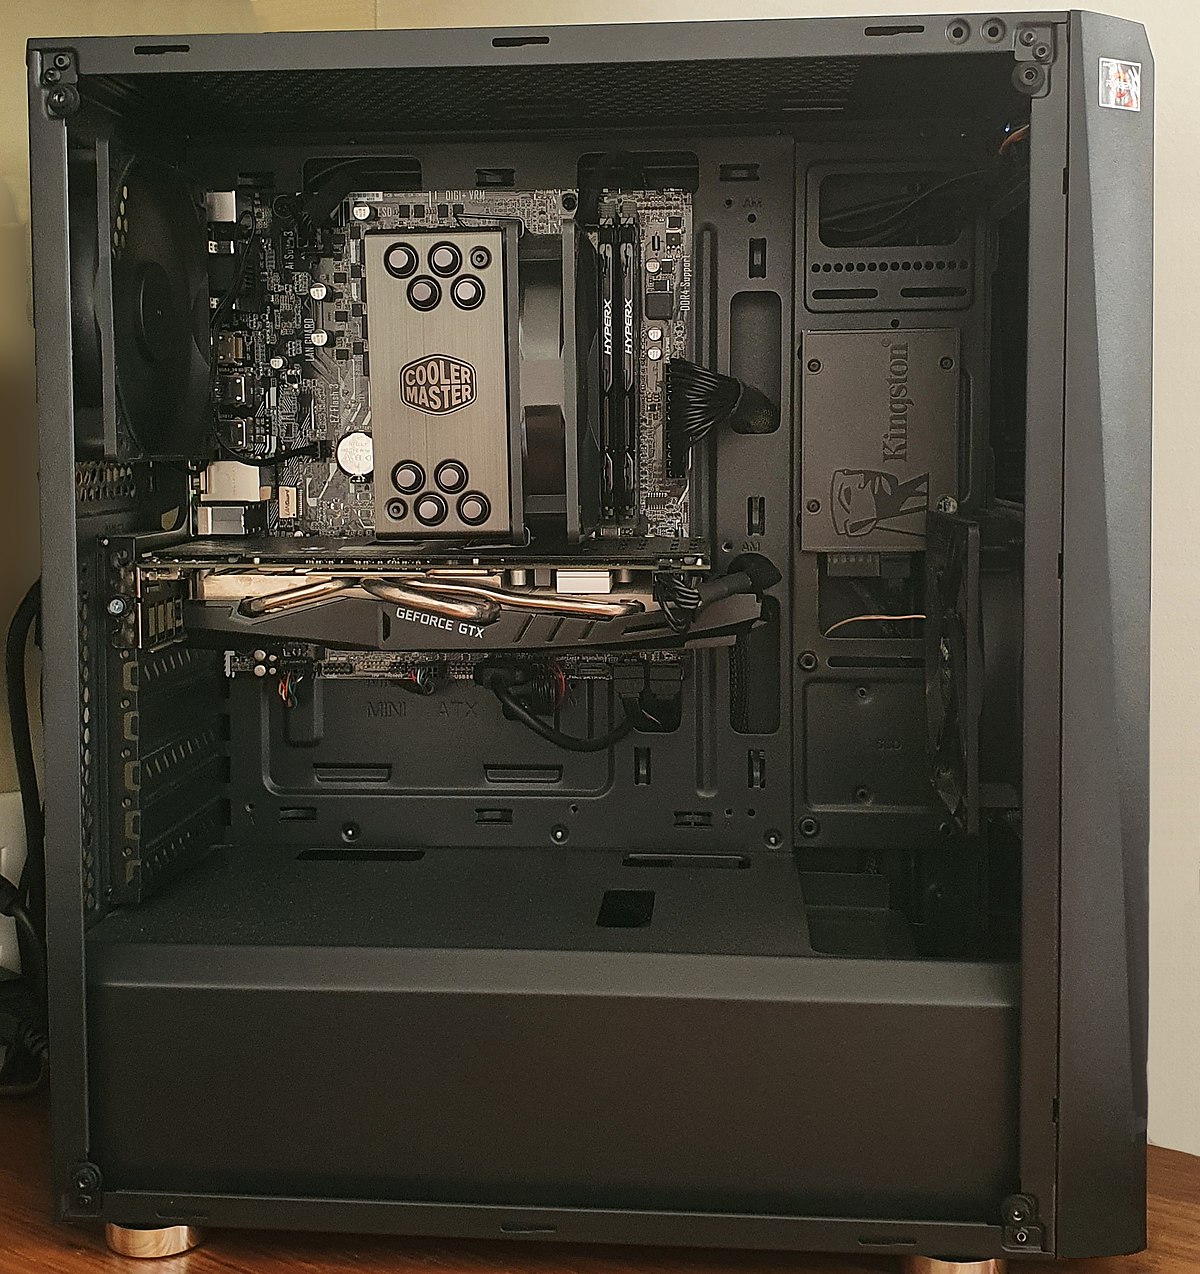
Step 3: Remove the Side Panel of Your PC Case
Next, you’ll need to access the inside of your PC case by removing the side panel. This will give you better visibility and easier access to the CPU cooler.
Step 4: Locate and Disconnect the CPU Cooler Fan Cable
On most Corsair CPU coolers, the fan is connected to the motherboard via a 4-pin connector. Locate this cable and gently unplug it from the motherboard.
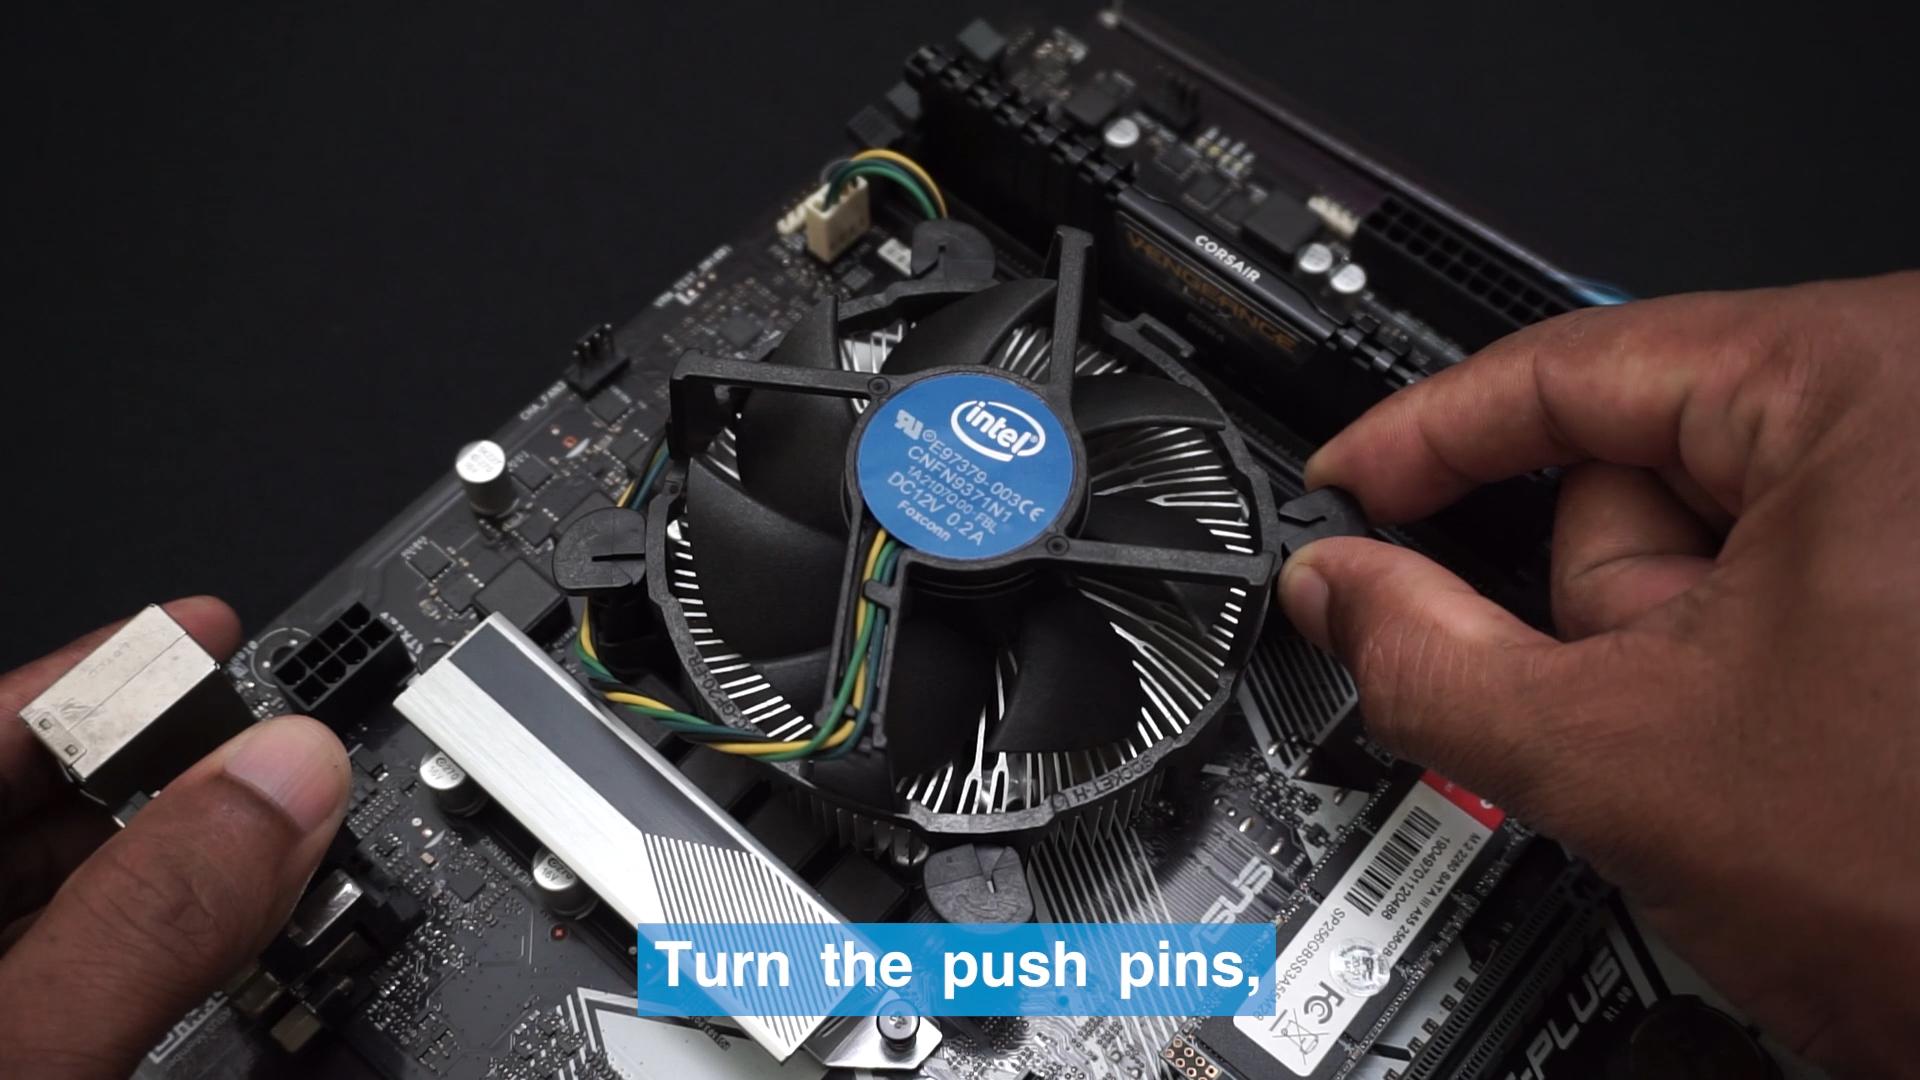
Step 5: Remove the Mounting Screws
Using a screwdriver, carefully remove the mounting screws that hold the CPU cooler in place. Depending on the model, there may be two or four screws to remove. Keep the screws in a safe place as you’ll need them for reinstallation.
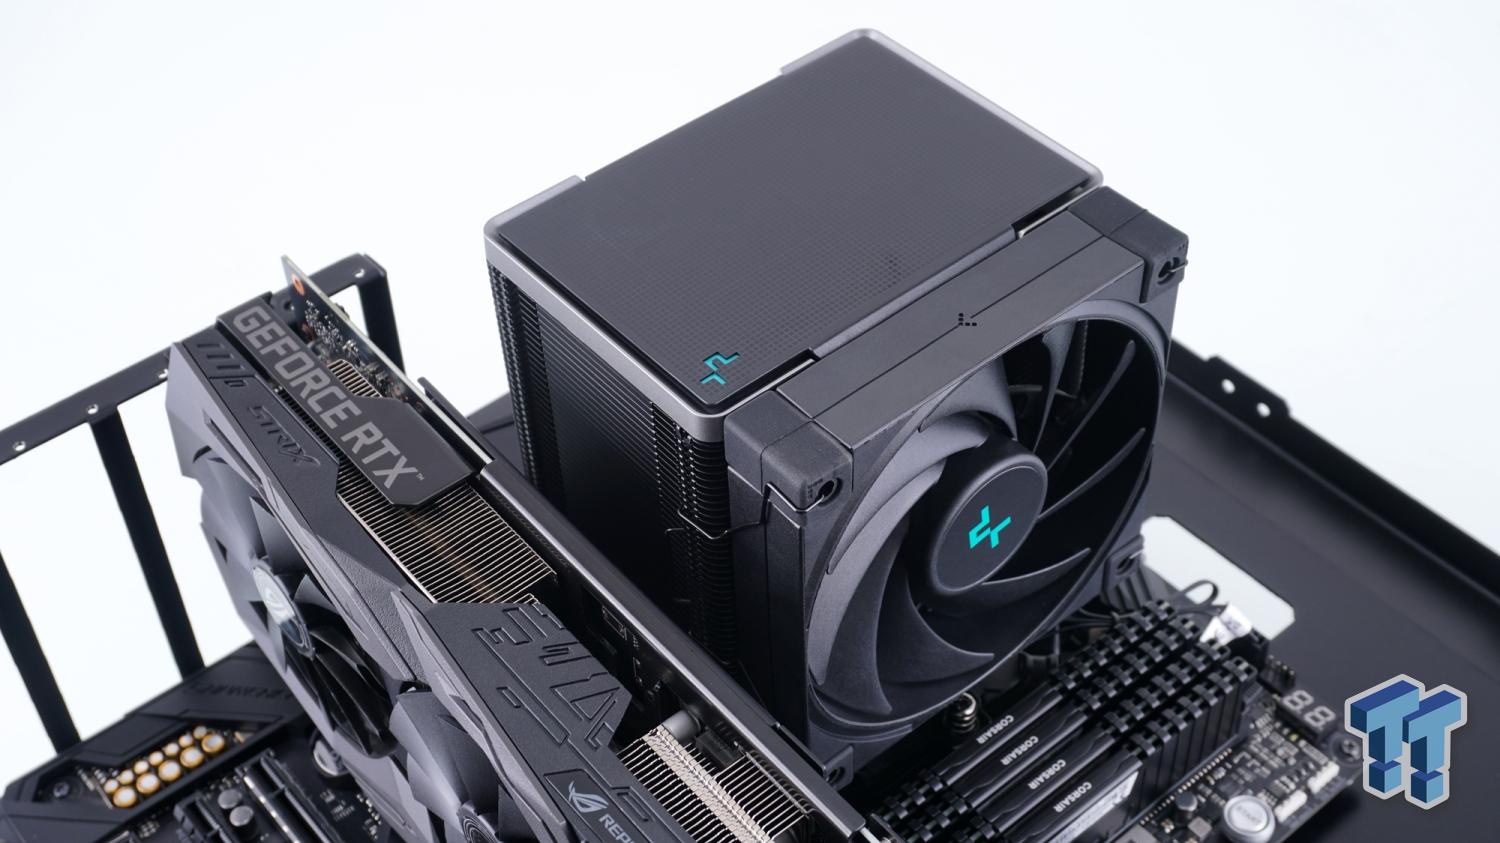
Step 6: Carefully Lift and Remove the CPU Cooler
With the screws removed, you can now lift the CPU cooler off the processor. Be careful not to apply too much force, as this could damage the CPU or motherboard.
Step 7: Clean the Processor and Cooler
Now that the cooler is removed, you can clean both the processor and cooler before reinstalling. If there is any excess thermal paste on the processor, you can use a thermal paste remover and isopropyl alcohol to clean it off. Wipe the surface with a lint-free cloth and let it dry completely.
You can also use this opportunity to clean the cooler itself, removing any dust or debris that may have accumulated over time.
Tools Required for Removing Corsair CPU Cooler
As mentioned earlier, you’ll need a few tools to remove your Corsair CPU cooler successfully. Here’s a list of the tools required:
- Screwdriver (Phillips or flathead)
- Thermal paste remover (optional)
- Isopropyl alcohol (optional)
- Lint-free cloth (optional)
Having these tools on hand will make the removal process much smoother and easier.
Precautions to Take Before Removing Corsair CPU Cooler
Before removing your Corsair CPU cooler, there are a few precautions you should take to ensure a safe and successful removal:
- Power down and disconnect your PC from all power sources.
- Ground yourself by touching a metal object to avoid static electricity damage to your components.
- Have all necessary tools on hand before beginning the removal process.
- Be gentle when handling the CPU cooler to avoid damaging the processor or motherboard.
- Keep track of the mounting screws to avoid losing them.
Removing Corsair CPU Cooler: Common Mistakes to Avoid
While removing a Corsair CPU cooler may seem like a straightforward process, there are a few common mistakes that people make. These mistakes can lead to damage to your components or difficulties in reinstallation. Here are some things to avoid when removing your Corsair CPU cooler:
- Applying too much force: As mentioned earlier, it’s crucial to be gentle when removing the CPU cooler. Applying too much force can damage the processor or motherboard.
- Forgetting to disconnect the fan cable: Before removing the cooler, make sure to unplug the fan cable from the motherboard. Forgetting to do so can lead to damage to the cable or motherboard.
- Not cleaning the processor and cooler before reinstallation: It’s essential to clean both the processor and cooler before reinstalling to ensure proper thermal paste application and optimal cooling performance.
Troubleshooting Tips for Removing Corsair CPU Cooler
If you encounter any issues while removing your Corsair CPU cooler, here are a few troubleshooting tips to help you out:
- If the cooler is stuck, try gently twisting it back and forth to loosen it before lifting it off.
- If the mounting screws are difficult to remove, try using a screwdriver with a magnetic tip for easier handling.
- If there is excess thermal paste on the processor, use a thermal paste remover and isopropyl alcohol to clean it off thoroughly.
Alternative Methods for Removing Corsair CPU Cooler
While the steps outlined above are the most common method for removing a Corsair CPU cooler, there may be alternative methods depending on your specific model. Some coolers may have different mounting mechanisms or require additional steps. It’s always best to refer to the manufacturer’s manual for specific instructions.
Reinstalling Corsair CPU Cooler: A Complete Guide
After removing your Corsair CPU cooler, you may need to reinstall it. Here’s a quick guide on how to do so:
Step 1: Clean the Processor and Cooler
Before reinstalling, make sure to clean both the processor and cooler as outlined in step 7 of the removal process.
Step 2: Apply Thermal Paste
Apply a small pea-sized amount of thermal paste onto the center of the processor. Spread it evenly using a credit card or plastic spatula.
Step 3: Align the Cooler and Secure it in Place
Gently place the cooler onto the processor, making sure to align the mounting holes with the screws on the motherboard. Once aligned, secure the cooler in place by tightening the mounting screws.
Step 4: Reconnect the Fan Cable
Finally, reconnect the fan cable to the motherboard, and you’re all set!
Video
Conclusion
Removing a Corsair CPU cooler may seem like a daunting task, but with the right tools and precautions, it can be done safely and smoothly. Whether you’re upgrading to a new cooler, cleaning, or troubleshooting, following this comprehensive guide will ensure a successful removal process. Remember to take your time, be gentle, and refer to the manufacturer’s manual for any specific instructions. Happy cooling!

Information Security Asia is the go-to website for the latest cybersecurity and tech news in various sectors. Our expert writers provide insights and analysis that you can trust, so you can stay ahead of the curve and protect your business. Whether you are a small business, an enterprise or even a government agency, we have the latest updates and advice for all aspects of cybersecurity.