
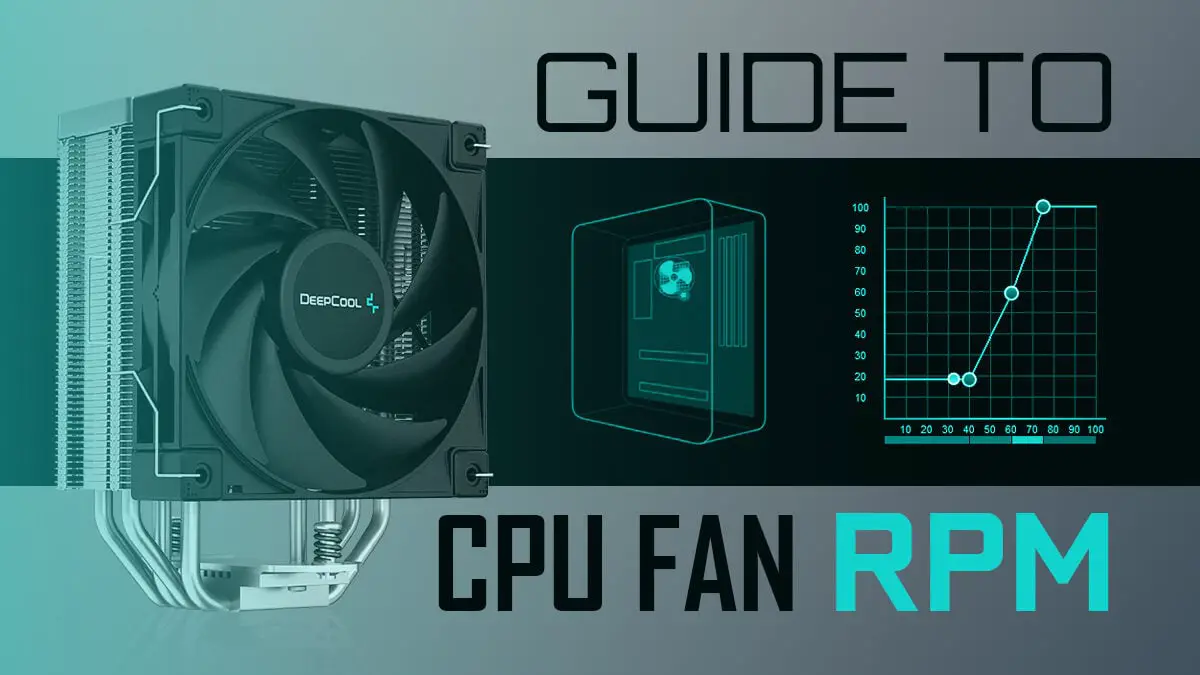
As a computer user, you may have heard the term “CPU cooler” before, but do you know what it actually does and why it’s important to check it? A CPU cooler is a crucial component in your computer that helps keep your processor from overheating.
It works by dissipating the heat generated by the CPU, ensuring that it operates at safe temperatures. Without a functioning CPU cooler, your computer may experience performance issues or even damage to its internal components.
In this article, we will discuss everything you need to know about checking your CPU cooler. We will cover the importance of regularly checking it, signs that indicate it may need attention, tools needed for the process, step-by-step instructions on how to check it, common issues with CPU coolers and how to troubleshoot them, tips for maintaining your CPU cooler, and when it’s time to replace it.
So let’s dive in and learn how to ensure your CPU cooler is in top shape!
Contents
- What is a CPU Cooler?
- Why is it Important to Check Your CPU Cooler?
- Signs that Your CPU Cooler May Need to be Checked
- Tools Needed for Checking Your CPU Cooler
- Step-by-Step Guide on How to Check Your CPU Cooler
- Step 1: Power Off and Unplug Your Computer
- Step 2: Remove the Side Panel of Your Computer Case
- Step 3: Locate Your CPU Cooler
- Step 4: Inspect the Heatsink and Fan(s)
- Step 5: Clean the Heatsink and Fan(s)
- Step 6: Check the Fan(s) for Proper Functioning
- Step 7: Reseat Your CPU Cooler (Optional)
- Step 8: Reattach the Side Panel and Power On Your Computer
- Common Issues with CPU Coolers and How to Troubleshoot
- Tips for Maintaining Your CPU Cooler
- When to Replace Your CPU Cooler
- Video
- Conclusion
What is a CPU Cooler?

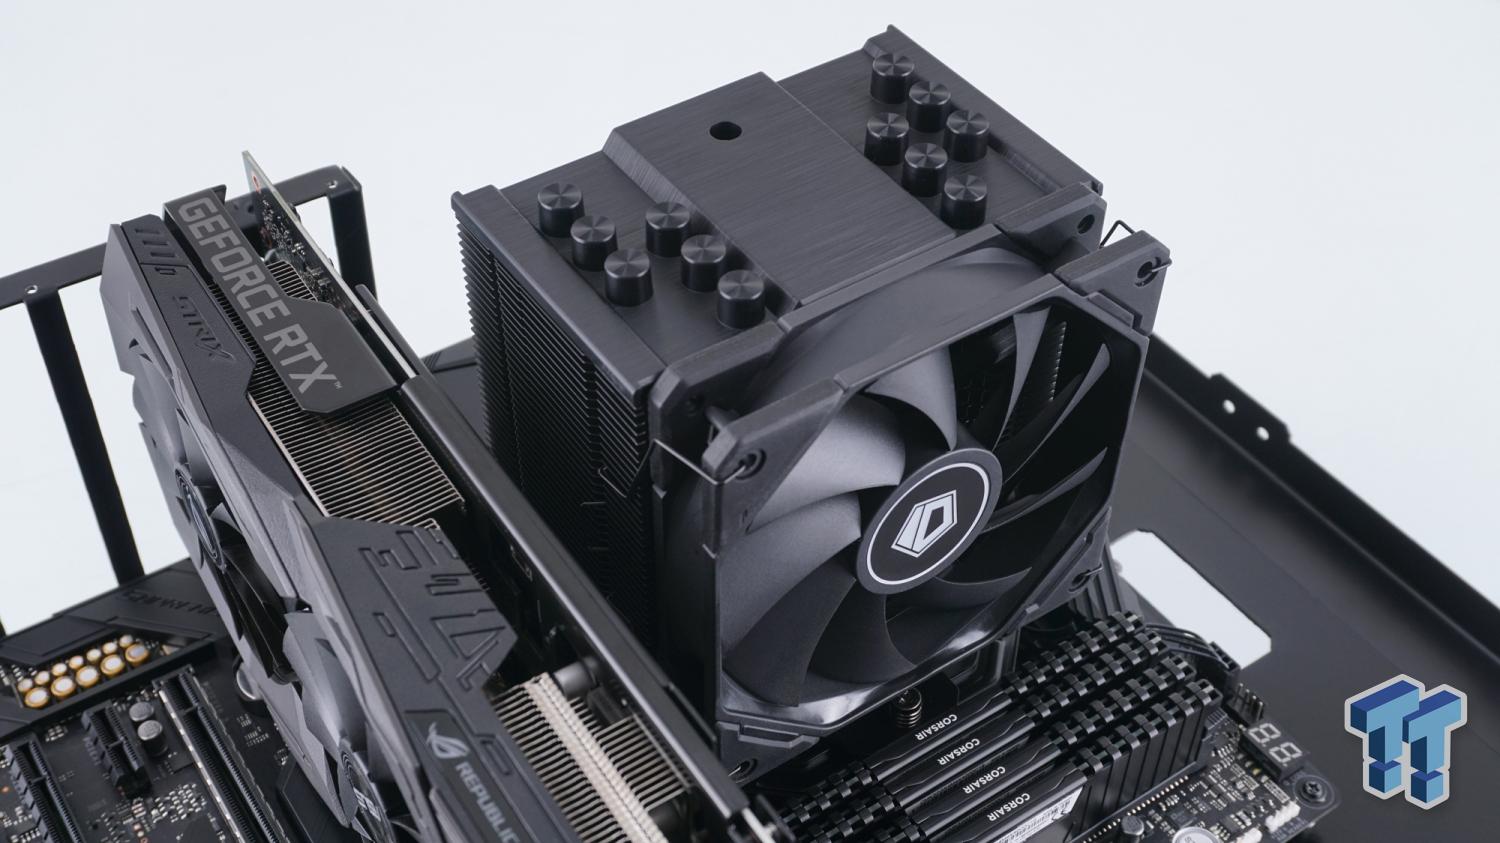
Before we get into the details of how to check your CPU cooler, let’s first understand what it is and how it works. As mentioned earlier, a CPU cooler is responsible for keeping your processor from overheating. It consists of a heatsink, fan(s), and thermal paste. The heatsink is a metal structure with fins that absorb heat from the CPU and transfer it to the surrounding air. The fan(s) then blow air over the heatsink to dissipate the heat. And finally, the thermal paste acts as a conductive material between the CPU and the heatsink, ensuring efficient heat transfer.
There are two main types of CPU coolers: air coolers and liquid coolers. Air coolers use the combination of a heatsink and fan(s) to cool the CPU, while liquid coolers use a pump to circulate coolant through a radiator, which then cools the liquid before it is pumped back to the CPU. Both types have their pros and cons, but they ultimately serve the same purpose of keeping your CPU at safe temperatures.
Why is it Important to Check Your CPU Cooler?
Now that we know what a CPU cooler is, let’s discuss why it’s important to regularly check it. The main reason is to ensure that your processor is operating at safe temperatures. When a CPU overheats, it can cause performance issues, system crashes, or even permanent damage to the processor. By regularly checking your CPU cooler, you can prevent these problems and prolong the lifespan of your computer.
Another reason to check your CPU cooler is to maintain its efficiency. Over time, dust and debris can accumulate on the heatsink and fan(s), hindering their ability to dissipate heat effectively. By cleaning and maintaining your CPU cooler, you can ensure that it continues to function at its best, keeping your computer running smoothly.
Signs that Your CPU Cooler May Need to be Checked
There are a few signs that may indicate your CPU cooler needs attention. If you experience any of the following, it’s time to check your CPU cooler:
- High CPU temperatures: If your computer suddenly starts running hotter than usual, it could be a sign that your CPU cooler is not functioning properly.
- Loud fan noise: As your CPU cooler works harder to dissipate heat, the fan(s) may start making loud noises. This could be due to dust buildup or a malfunctioning fan.
- System crashes or freezes: If your computer randomly crashes or freezes, it could be due to an overheating CPU. This is a serious issue and should be addressed immediately.
- Visible damage: If you notice any physical damage to your CPU cooler, such as bent fins or a broken fan, it’s time to replace it.
Tools Needed for Checking Your CPU Cooler
Before we get into the step-by-step guide on how to check your CPU cooler, let’s first gather the necessary tools. You will need:
- Screwdriver: Depending on your computer case, you may need a Phillips or flathead screwdriver to remove the side panel.
- Compressed air: This will be used to clean any dust and debris from the heatsink and fan(s).
- Thermal paste: If you are reseating your CPU cooler, you will need to apply new thermal paste.
- Rubbing alcohol and cotton swabs: These will be used to clean off old thermal paste before applying new one.
Step-by-Step Guide on How to Check Your CPU Cooler
Now that we have all the tools ready, let’s go through the steps of checking your CPU cooler. It’s important to note that these steps may vary slightly depending on your specific CPU cooler and computer case, so always refer to your manufacturer’s instructions if needed.
Step 1: Power Off and Unplug Your Computer
Before working on any internal components of your computer, it’s crucial to turn it off and unplug it from the power source. This will prevent any potential damage to your computer or harm to yourself.
Step 2: Remove the Side Panel of Your Computer Case
Using a screwdriver, remove the screws holding the side panel of your computer case in place. Carefully remove the panel and set it aside.
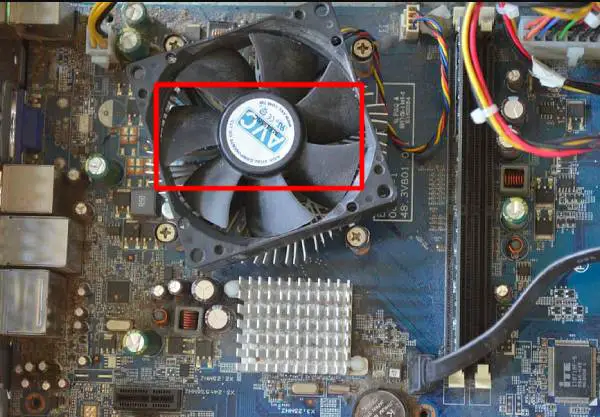
Step 3: Locate Your CPU Cooler
The location of your CPU cooler may vary depending on your computer’s motherboard and case. In most cases, it will be located near the top of your motherboard, with the fan(s) facing towards the back of the case.
Step 4: Inspect the Heatsink and Fan(s)
Take a close look at the heatsink and fan(s) for any visible signs of damage or dust buildup. If you notice any bent fins, broken fan blades, or excessive dust, it’s time to clean or replace your CPU cooler.
Step 5: Clean the Heatsink and Fan(s)
Using compressed air, blow away any dust and debris from the heatsink and fan(s). Be sure to hold the can upright and use short bursts of air to avoid damaging the components. You can also use a small brush to gently remove any stubborn dust.
Step 6: Check the Fan(s) for Proper Functioning
While you have the side panel off, turn on your computer and check if the fan(s) are spinning. If they are not, it could be a sign of a malfunctioning fan that needs to be replaced.
Step 7: Reseat Your CPU Cooler (Optional)
If you notice that your CPU cooler is loose or not making proper contact with the CPU, you may need to reseat it. To do this, carefully remove the CPU cooler from the motherboard, clean off the old thermal paste using rubbing alcohol and cotton swabs, apply new thermal paste, and then reattach the cooler.
Step 8: Reattach the Side Panel and Power On Your Computer
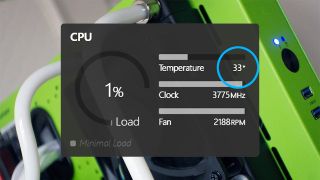
Once you have completed all the necessary steps, reattach the side panel of your computer case and power on your computer. Monitor your CPU temperatures to ensure they are within safe ranges.
Congratulations! You have successfully checked your CPU cooler and ensured that it is functioning properly.
Common Issues with CPU Coolers and How to Troubleshoot
Even with regular maintenance, CPU coolers can still experience issues. Here are some common problems and how to troubleshoot them:
- High CPU temperatures: If your CPU temperatures are consistently high, it could be due to a malfunctioning fan, insufficient thermal paste, or an incorrectly installed CPU cooler. Check and replace any faulty components and make sure the cooler is properly installed.
- Loud fan noise: As mentioned earlier, loud fan noise can be caused by dust buildup or a malfunctioning fan. Clean the components and replace any faulty fans if needed.
- System crashes or freezes: If your computer continues to crash or freeze even after checking and cleaning your CPU cooler, it could be due to an inadequate cooler for your processor’s power consumption. In this case, you may need to upgrade to a more powerful CPU cooler.
- Leaks in liquid coolers: If you have a liquid cooler and notice leaks, it could be due to a damaged pump or a loose connection. Check and replace any faulty components.
Tips for Maintaining Your CPU Cooler
To ensure that your CPU cooler continues to function at its best, here are some tips for maintaining it:
- Regularly clean your CPU cooler: As mentioned earlier, dust and debris can accumulate on the heatsink and fan(s), hindering their efficiency. Make it a habit to clean them every few months.
- Monitor your CPU temperatures: Keep an eye on your CPU temperatures and make sure they are within safe ranges. This will help you catch any potential issues early on.
- Replace thermal paste when needed: Over time, thermal paste can dry out and become less effective. If you notice high CPU temperatures, it may be time to reapply new thermal paste.
- Keep your computer in a well-ventilated area: Proper airflow is crucial for keeping your CPU cool. Make sure your computer is not placed in an enclosed space or near heat sources.
- Consider upgrading your CPU cooler: If you are experiencing frequent overheating or performance issues, it may be time to upgrade to a more powerful CPU cooler.
When to Replace Your CPU Cooler
Like all computer components, CPU coolers have a lifespan and will eventually need to be replaced. Here are some signs that indicate it’s time for a new CPU cooler:
- Frequent overheating: If your CPU temperatures are consistently high, even after cleaning and maintaining your cooler, it may be time to upgrade to a more powerful one.
- Loud fan noise: As mentioned earlier, loud fan noise can be caused by dust buildup or a malfunctioning fan. If you have cleaned and replaced any faulty components, but the noise persists, it may be time for a new cooler.
- Visible damage: If your CPU cooler has physical damage that cannot be fixed, such as bent fins or a broken fan, it’s time to replace it.
Video
Conclusion
In conclusion, checking your CPU cooler is an essential part of maintaining your computer’s performance and prolonging its lifespan. By regularly cleaning and maintaining your CPU cooler, you can prevent potential issues and ensure that your processor operates at safe temperatures. Remember to monitor your CPU temperatures, keep your computer in a well-ventilated area, and consider upgrading your CPU cooler when needed. With the steps and tips outlined in this article, you can confidently check your CPU cooler and keep your computer running smoothly.

Information Security Asia is the go-to website for the latest cybersecurity and tech news in various sectors. Our expert writers provide insights and analysis that you can trust, so you can stay ahead of the curve and protect your business. Whether you are a small business, an enterprise or even a government agency, we have the latest updates and advice for all aspects of cybersecurity.