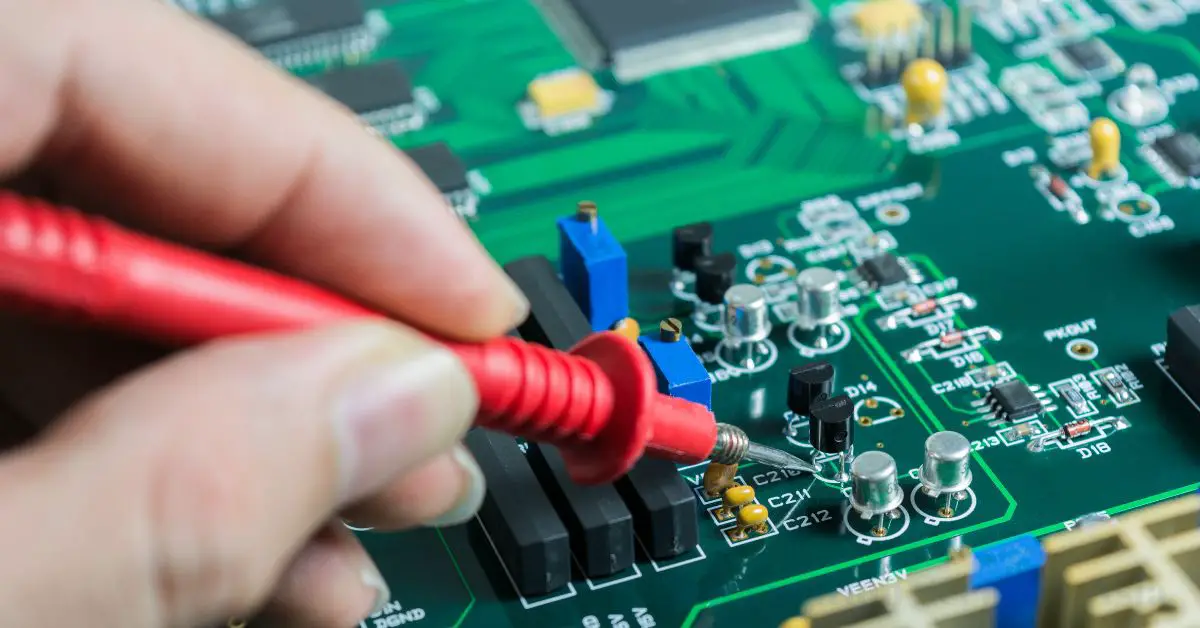
As technology continues to advance, computer components are becoming more powerful and efficient. However, with increased power comes increased heat generation, which can be detrimental to the lifespan and performance of your CPU. One way to combat this issue is by lowering the voltage of your CPU through a process called undervolting.
In this article, we will discuss the importance of understanding CPU voltage and how to safely lower it in the MSI BIOS.
Contents
Understanding CPU Voltage
The central processing unit (CPU) is the brain of your computer, responsible for carrying out all tasks and calculations. To function properly, the CPU requires a specific amount of electrical power, which is determined by its voltage. This voltage is crucial for maintaining the stability and performance of the CPU.
However, many CPUs come with a default voltage that is higher than necessary, resulting in excessive power consumption, heat generation, and potential damage to the processor over time. This is where undervolting comes into play.
Why Lowering CPU Voltage is Important
Undervolting, the process of deliberately lowering CPU voltage, offers several benefits:
- Reduced Power Consumption: By lowering CPU voltage, you can significantly reduce the power consumption of your computer, leading to lower energy bills and a more environmentally friendly setup.
- Lower Heat Generation: Undervolting also results in reduced heat generation from the CPU, which translates to quieter operation and less strain on the cooling system.
- Extended CPU Lifespan: Overheating can shorten the lifespan of your CPU. By lowering voltage and reducing heat, you can potentially extend the life of your processor.
Now that we understand the importance of undervolting, let’s dive into the steps to lower CPU voltage in the MSI BIOS.
How to Lower CPU Voltage in MSI BIOS
Before proceeding with undervolting, it’s essential to understand that this process involves altering the delicate balance of your CPU’s operation. If done incorrectly, it can lead to instability, crashes, or even damage to your hardware. Therefore, it’s crucial to proceed with caution and follow the steps carefully.
Accessing the BIOS Menu
- Restart your computer.
- As the computer boots up, press the “Delete” key repeatedly to access the BIOS menu. The exact key may vary depending on your motherboard manufacturer, but it is usually “Delete,” “F2,” or “F10.”
- Once in the BIOS menu, navigate using the arrow keys on your keyboard.
- Look for the “Advanced” tab in the BIOS menu and select it.
- Under the “Advanced” tab, look for the “CPU Configuration” or “CPU Settings” option and select it.
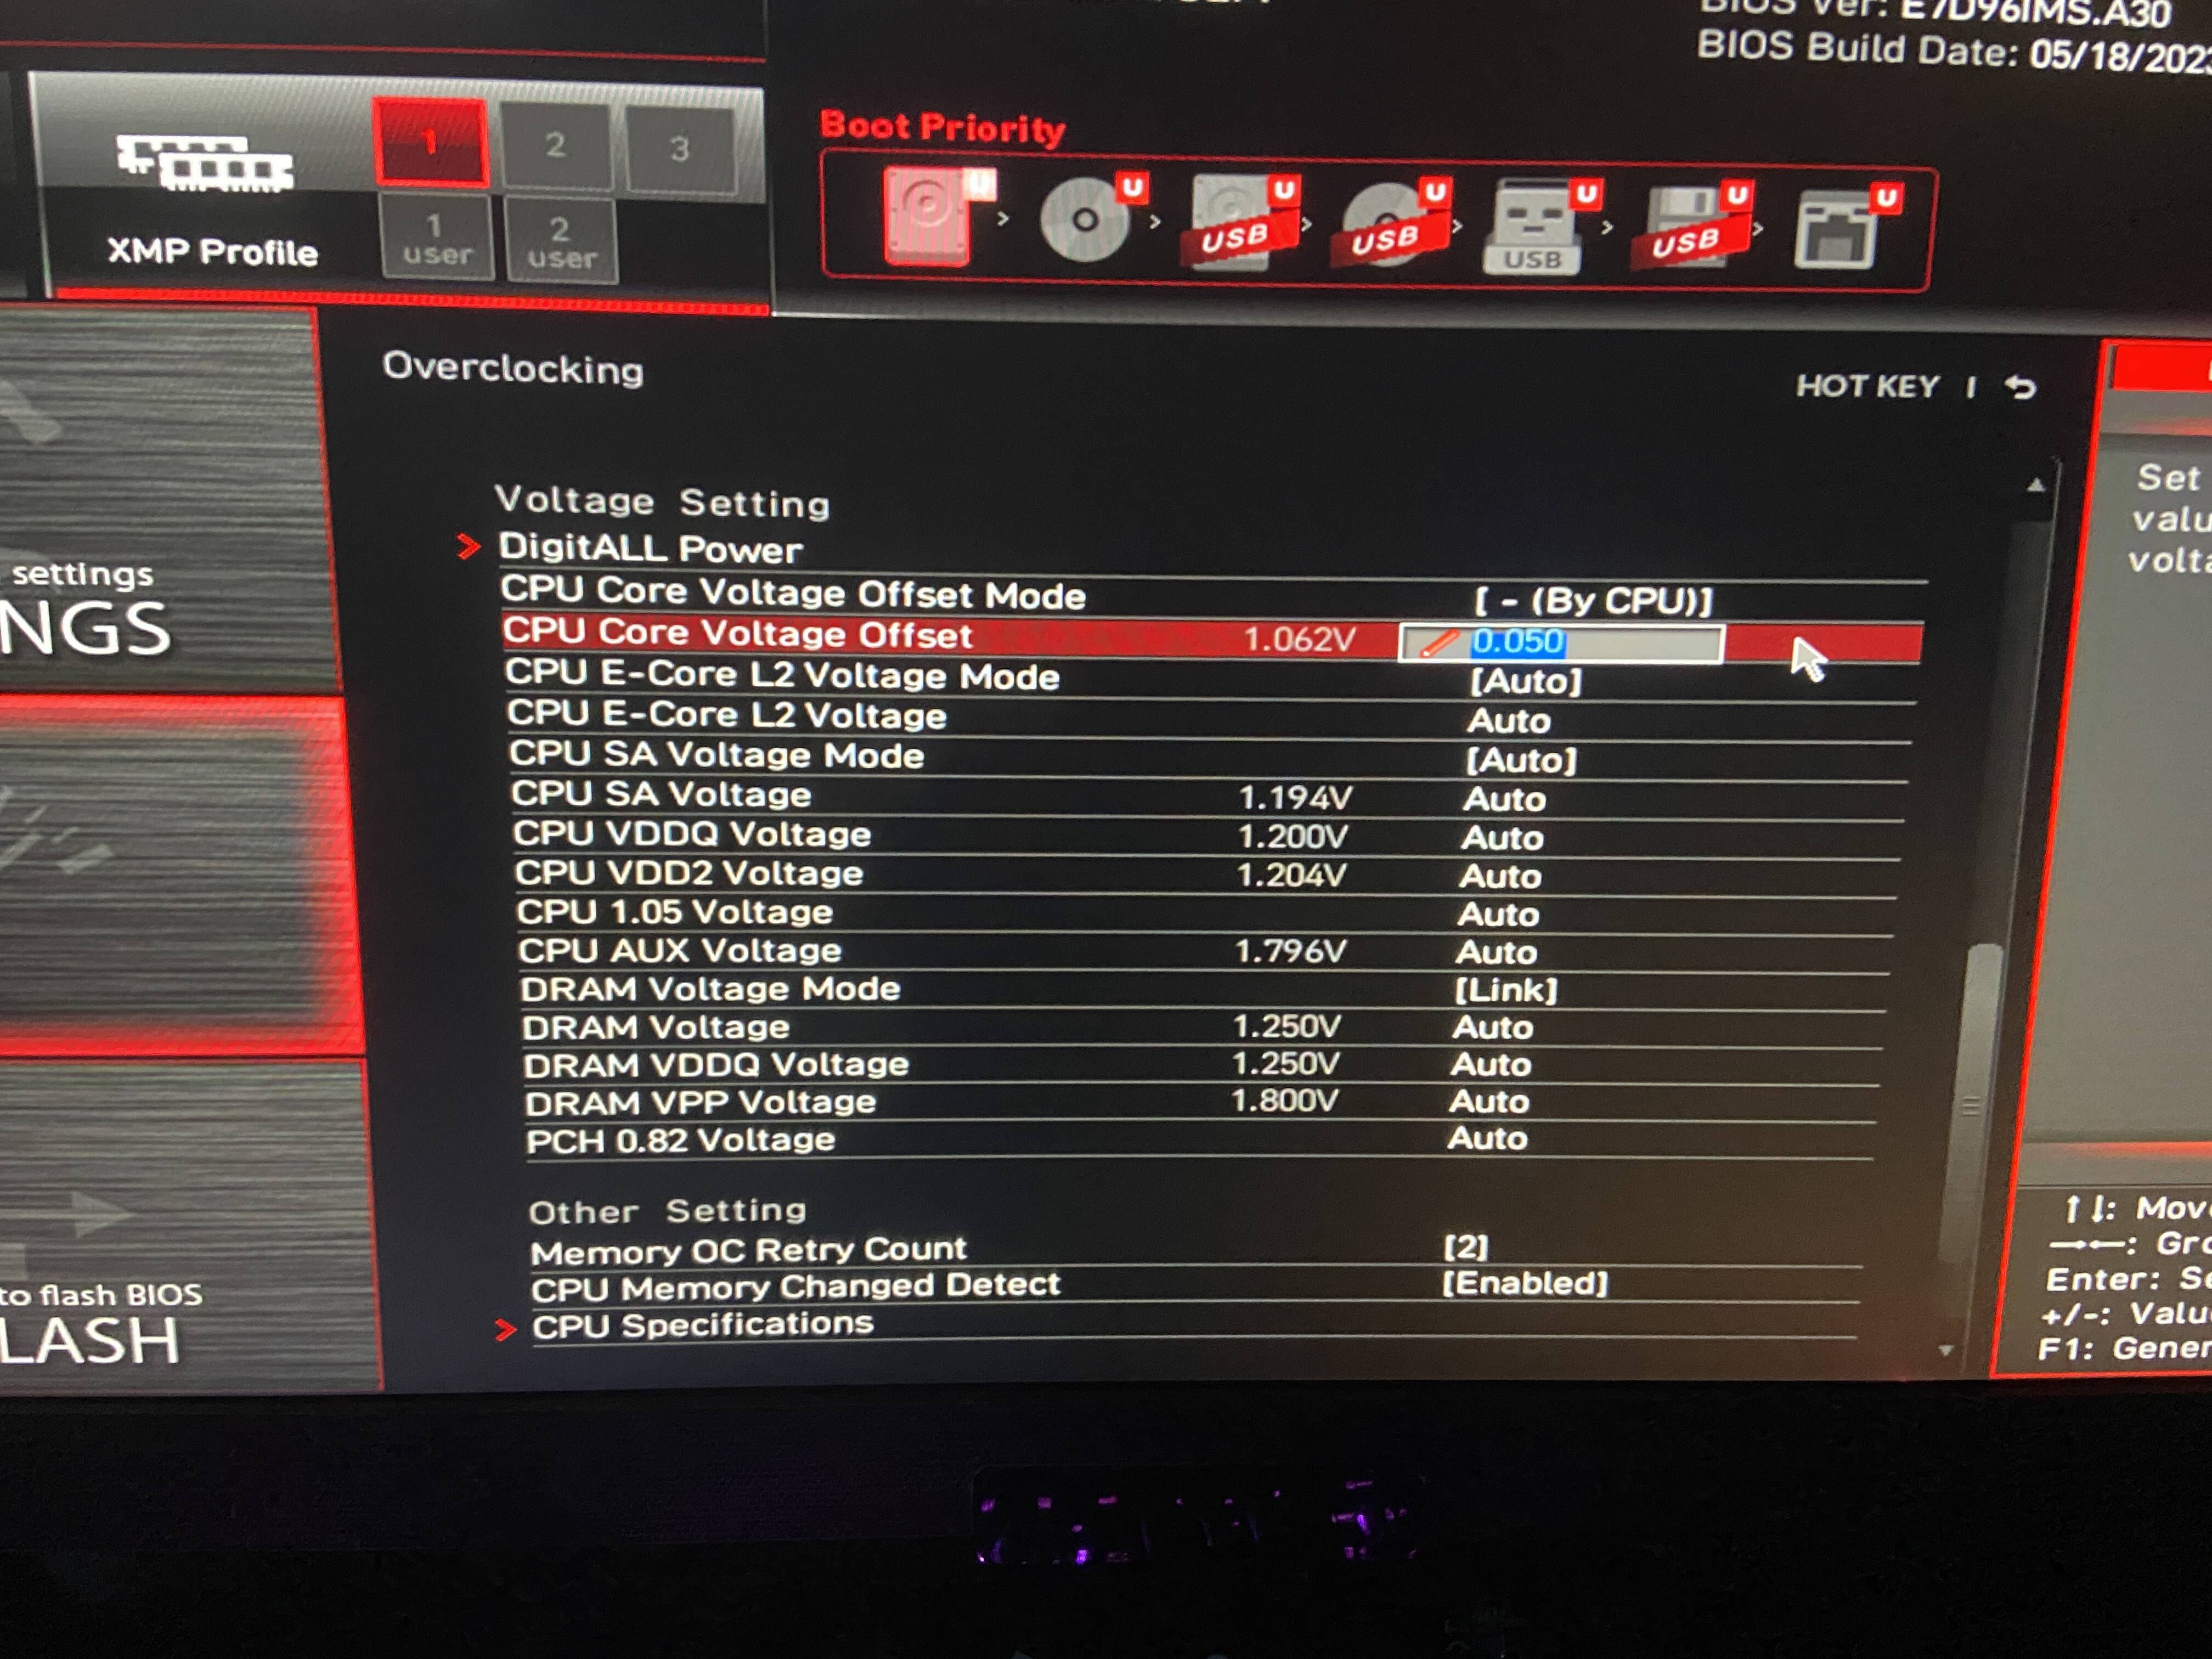
- Within the CPU settings, you should see an option for “CPU Voltage” or “Vcore.” This is where you can adjust the voltage of your CPU.
Adjusting the CPU Voltage
- Before making any changes, take note of the current voltage setting. This will serve as a reference point if you need to revert to the default settings.
- To lower the voltage, use the arrow keys on your keyboard to decrease the value. It’s recommended to start with a small decrease, such as 0.05 volts, and test the stability before making further adjustments.
- Once you have made the desired changes, save the settings by pressing the “F10” key on your keyboard. You may be prompted to confirm the changes before exiting the BIOS menu.
Testing and Monitoring the Changes
After adjusting the CPU voltage, it’s crucial to test the stability of your system to ensure that it can handle the changes. There are various stress-testing programs available, such as Prime95 or AIDA64, that can put your CPU under heavy load to test its stability.
It’s also essential to monitor the temperature of your CPU while stress testing. If you notice a significant decrease in temperature, it means that the undervolting was successful, and you can continue to make further adjustments if desired.
Potential Risks and Precautions
As mentioned earlier, undervolting involves altering the delicate balance of your CPU’s operation, which can have potential risks. It’s crucial to proceed with caution and take the following precautions:
- Always start with small voltage decreases and test for stability before making further adjustments.
- Keep an eye on the temperature of your CPU to ensure that it’s not running too hot.
- If your system becomes unstable or crashes, revert to the default voltage settings and try again with smaller adjustments.
- Undervolting may void your warranty, so make sure to check with your manufacturer before proceeding.
Video
Conclusion
Undervolting is a useful technique for reducing power consumption, heat generation, and potentially extending the lifespan of your CPU. However, it’s essential to understand the risks involved and proceed with caution. By following the steps outlined in this article, you can safely lower the CPU voltage in the MSI BIOS and reap the benefits of a more efficient and cooler system.

Information Security Asia is the go-to website for the latest cybersecurity and tech news in various sectors. Our expert writers provide insights and analysis that you can trust, so you can stay ahead of the curve and protect your business. Whether you are a small business, an enterprise or even a government agency, we have the latest updates and advice for all aspects of cybersecurity.