Are you tired of your computer’s loud and noisy fan? Or do you want to increase the fan speed for better cooling performance? Whatever the reason may be, changing the CPU fan speed without accessing the BIOS can seem like a daunting task. However, with the right knowledge and tools, it is possible to adjust the fan speed without having to enter the BIOS settings.
In this article, we will discuss various methods that you can use to change the CPU fan speed without BIOS.
Contents
Understanding CPU Fan Speed

Before we dive into the methods of changing CPU fan speed without BIOS, let’s first understand what exactly is CPU fan speed and why it is important. The CPU fan is responsible for keeping the processor cool by circulating air over its heat sink. The fan speed is measured in revolutions per minute (RPM) and it determines how fast the fan blades spin. The higher the RPM, the faster the fan spins and the more air it moves.
The ideal fan speed for your CPU depends on various factors such as the type of processor, the workload, and the ambient temperature. If the fan speed is too low, the CPU may overheat and cause damage to the system. On the other hand, if the fan speed is too high, it can create unnecessary noise and put extra strain on the fan motor. Therefore, it is important to find the right balance for your CPU fan speed.
Why Change CPU Fan Speed Without BIOS?
Traditionally, the only way to change the CPU fan speed was through the BIOS settings. However, not all computers have a user-friendly BIOS interface and some may not even allow access to the fan speed settings. Moreover, constantly entering the BIOS to make changes can be time-consuming and inconvenient. This is where the need for alternative methods to change the CPU fan speed without BIOS arises.
Another reason to change the fan speed without BIOS is for those who are not comfortable with making changes to their computer’s BIOS settings. Messing with the BIOS can be risky and may lead to system instability if not done correctly. Therefore, using alternative methods can provide a safer and more user-friendly approach to adjusting the fan speed.
Possible Methods for Changing CPU Fan Speed
There are several methods that you can use to change the CPU fan speed without accessing the BIOS. Each method has its own advantages and limitations, so it is important to choose the one that best suits your needs. Let’s take a closer look at each method.
Method 1: Using Third-Party Software
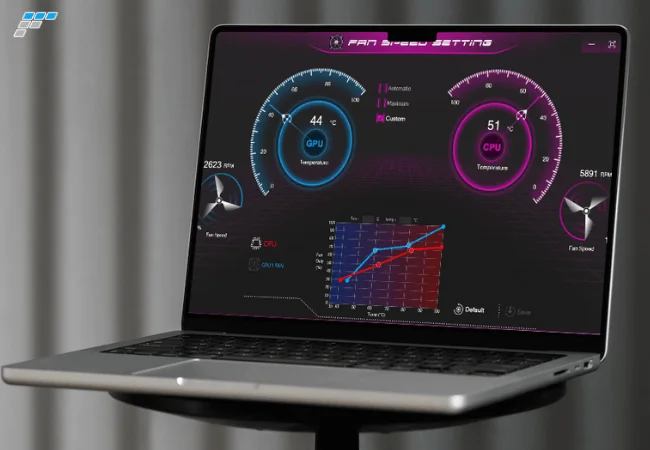
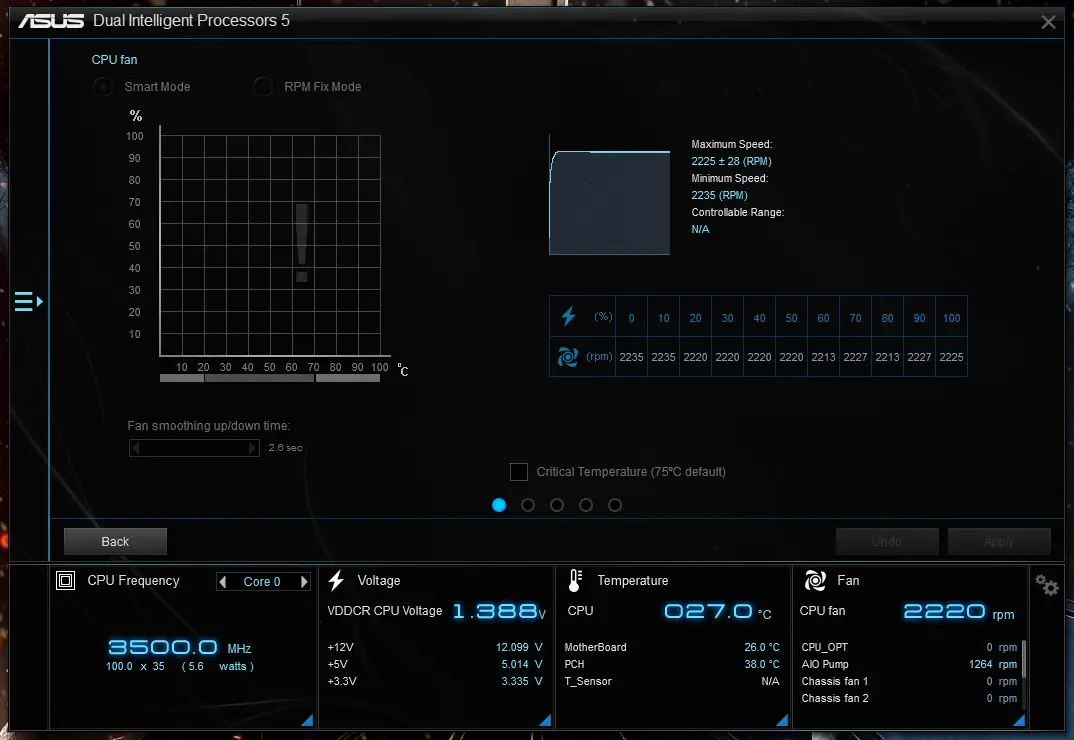
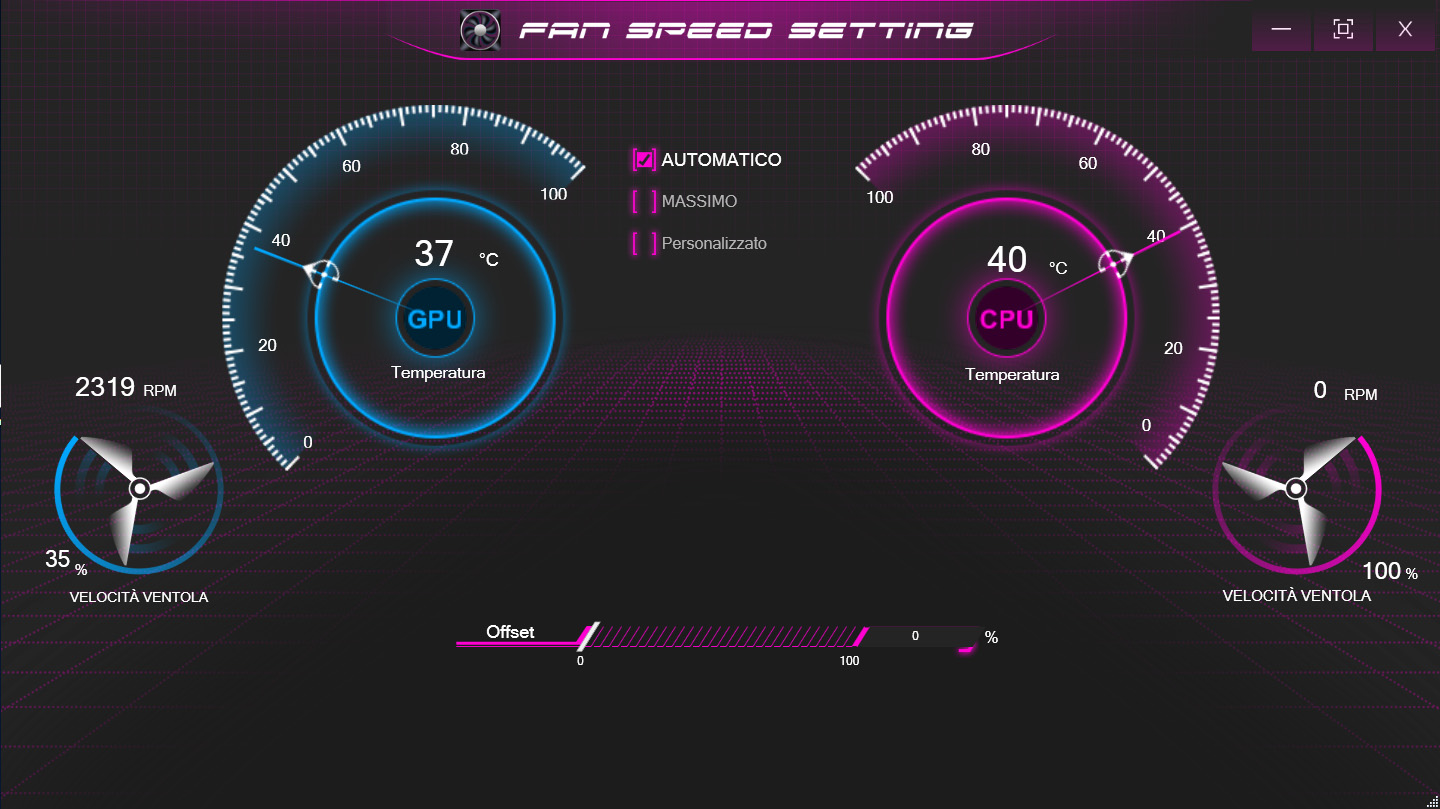
One of the easiest ways to change the CPU fan speed without BIOS is by using third-party software. There are various free and paid software available that allow you to monitor and control your fan speed. These software programs work by communicating with the fan controller on your motherboard and adjusting the fan speed accordingly.
Some popular options for controlling fan speed include SpeedFan, Argus Monitor, and HWiNFO. These software programs not only allow you to adjust the fan speed but also provide real-time monitoring of your system’s temperature and fan speeds. They also offer customizable fan profiles, allowing you to set different fan speeds for different scenarios such as gaming or idle mode.
However, it is important to note that not all motherboards are compatible with third-party software. You may need to do some research to ensure that your motherboard supports fan control through these programs. Additionally, make sure to download the software from a trusted source to avoid any potential malware or viruses.
Method 2: Modifying System Settings
Another way to change the CPU fan speed without BIOS is by modifying the system settings. This method involves changing the power plan settings on your computer, which can affect the fan speed. By default, most computers are set to the “Balanced” power plan, which aims to balance performance and energy consumption. However, switching to the “High Performance” power plan can increase the fan speed and provide better cooling for your CPU.
To change the power plan settings, follow these steps:
- Open the Control Panel on your computer.
- Click on “Hardware and Sound” and then select “Power Options.”
- In the Power Options window, click on “Change plan settings” next to the selected power plan.
- Click on “Change advanced power settings.”
- In the Advanced Settings tab, scroll down to “Processor power management” and expand it.
- Expand “System cooling policy” and change the settings for both “On battery” and “Plugged in” to “Active.”
- Click on “Apply” and then “OK” to save the changes.
This method may not work for all computers, as some may not have the option to change the system cooling policy. Additionally, switching to the High Performance power plan can increase energy consumption and may not be suitable for laptops or devices with limited battery life.
Method 3: Adjusting Fan Speed in BIOS
Although this article is focused on changing the CPU fan speed without BIOS, it is worth mentioning that accessing the BIOS is still one of the most effective ways to control fan speed. Most modern motherboards come with a built-in fan control feature in the BIOS, allowing you to adjust the fan speed according to your needs.
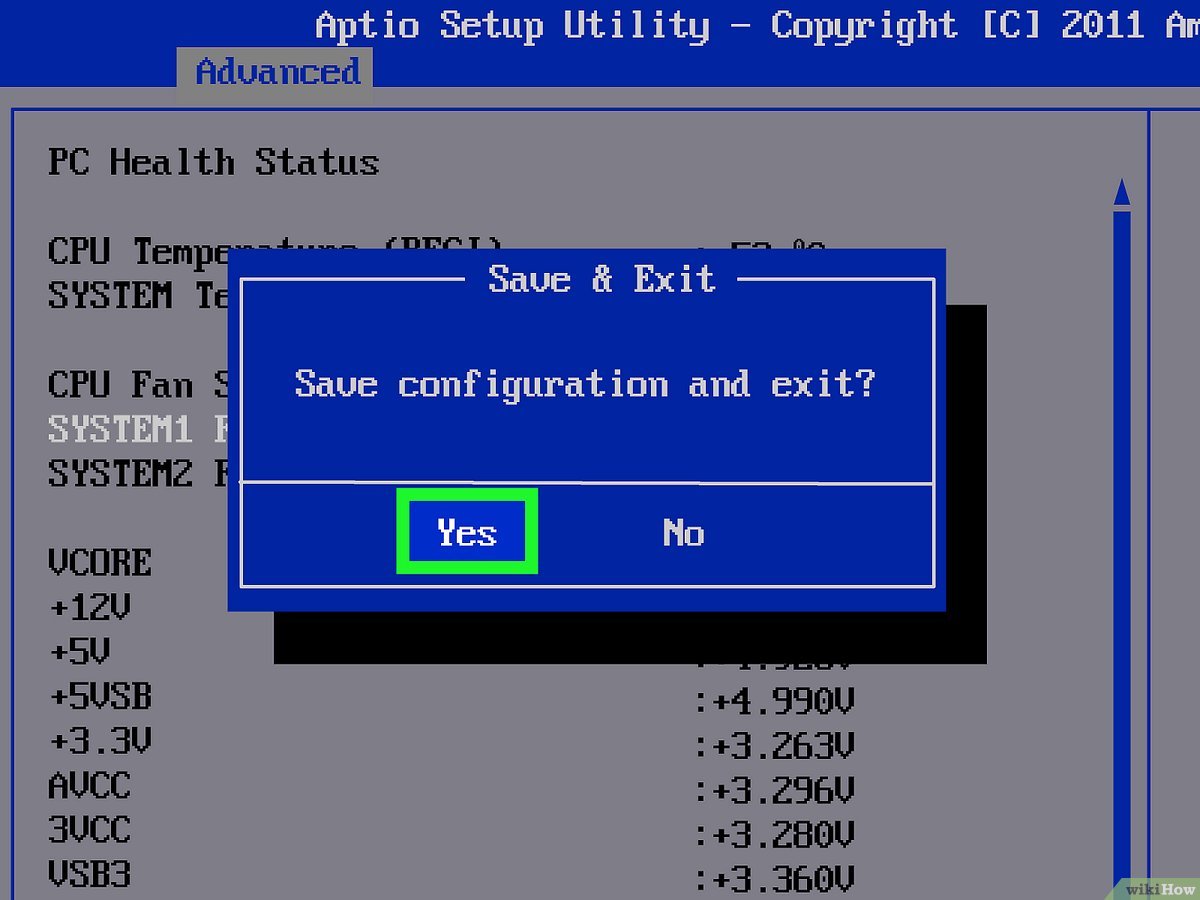
To access the BIOS, restart your computer and press the designated key (usually F2 or Delete) repeatedly during the boot-up process. Once in the BIOS, navigate to the “Hardware Monitor” or “Fan Control” section and make the necessary changes to the fan speed settings. Keep in mind that the BIOS interface may vary depending on your motherboard manufacturer.
Method 4: Replacing the CPU Fan
If none of the above methods work for you, or if you are looking for a more permanent solution, you can consider replacing your CPU fan. Upgrading to a better and more efficient fan can not only provide better cooling for your CPU but also give you the option to control the fan speed through the BIOS or third-party software.
When choosing a new CPU fan, make sure to check its compatibility with your motherboard and ensure that it is suitable for your processor’s TDP (thermal design power). You may also want to consider factors such as noise level, size, and airflow when making your decision.
Precautions to Take When Changing CPU Fan Speed
Before attempting to change the CPU fan speed without BIOS, it is important to take some precautions to avoid any potential damage to your system. Here are some things to keep in mind:
- Make sure to research and understand the methods before attempting to change the fan speed.
- Always download software from trusted sources to avoid any potential malware or viruses.
- Keep an eye on your system’s temperature after making changes to the fan speed.
- If using third-party software, regularly update it to ensure compatibility with your system.
- When accessing the BIOS, be cautious and make changes only if you are familiar with the settings.
- If replacing the CPU fan, follow proper installation procedures and ensure compatibility with your system.
Conclusion
Changing the CPU fan speed without BIOS may seem like a challenging task, but with the right knowledge and tools, it can be easily achieved. Whether you choose to use third-party software, modify system settings, or replace the CPU fan, make sure to do your research and take necessary precautions to avoid any potential issues. By finding the right balance for your CPU fan speed, you can ensure optimal performance and longevity of your computer.

Information Security Asia is the go-to website for the latest cybersecurity and tech news in various sectors. Our expert writers provide insights and analysis that you can trust, so you can stay ahead of the curve and protect your business. Whether you are a small business, an enterprise or even a government agency, we have the latest updates and advice for all aspects of cybersecurity.