

SECURITY


BUSINESS
What Is a Side Channel Attack?
What Is a Side Channel Attack? A side-channel attack does not directly attack algorithms or data. The attack method uses…
VPN

What is OpenVPN?
OpenVPN is a freely available open-source software that can be used to set up encrypted virtual private networks (VPNs). The software supports many different operating systems and can couple individual…
How to Change Instagram Region Without VPN
Instagram is a popular social media platform with over a billion monthly active users worldwide. However, due to different restrictions and regulations, Instagram users may experience varying features and content…
How to Get VPN on School Chromebook
How to get VPN on school Chromebook? Are you stuck at school, desperately wanting to use a VPN but your school chromebook won’t let you? Well then this blog post…
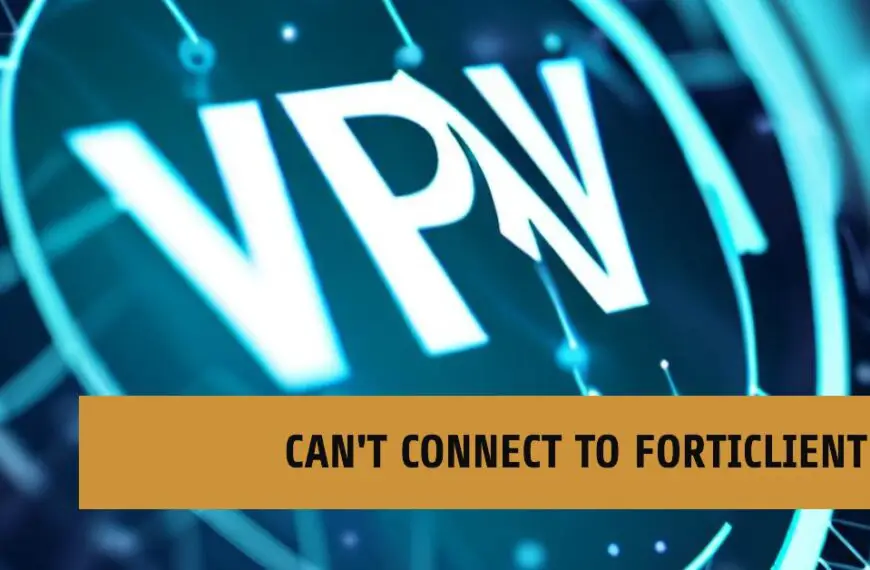
Can’t Connect to Forticlient Vpn [Fixed 2023]
As remote work becomes increasingly prevalent, virtual private networks (VPNs) have become a crucial tool for companies to ensure secure remote access to their internal network. FortiClient VPN is a…
LATEST
What is Spyware: Understanding the Intricacies of Digital Surveillance
In a world where our devices are an extension of ourselves, the specter of spyware looms ominously. This article delves…
Partners: Bästa Robotdammsugaren