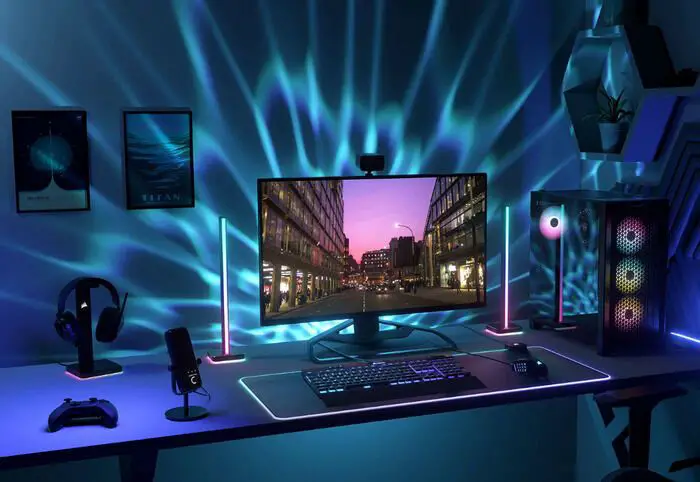
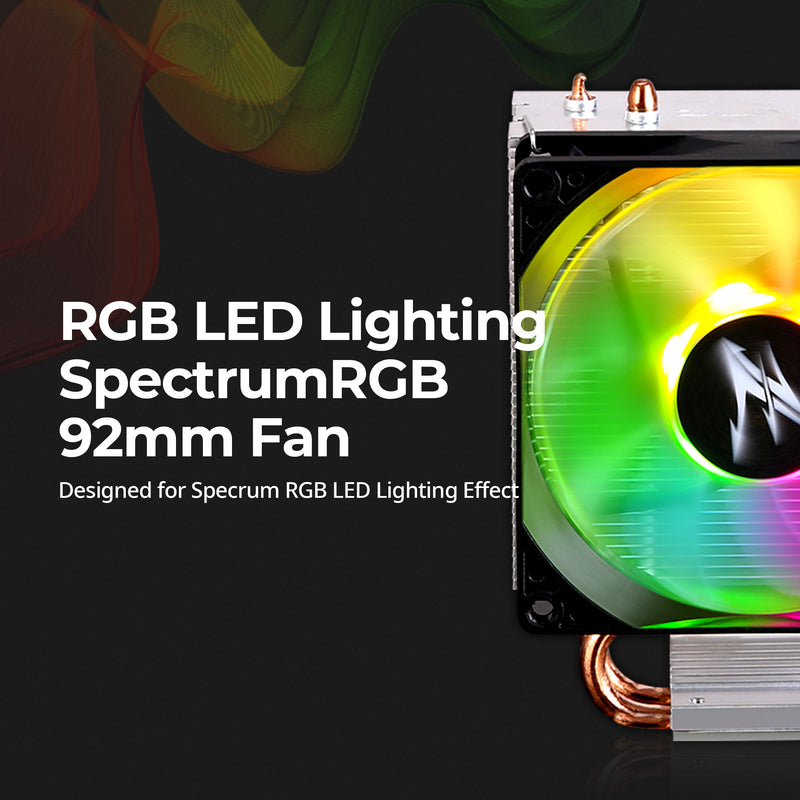
If you’re a PC enthusiast or gamer, you’ve probably heard of CPU fan RGB. These RGB lights add a touch of personalization and style to your computer setup, making it stand out from the rest. However, controlling these lights can be a bit tricky, especially for beginners.
In this article, we’ll discuss everything you need to know about how to control CPU fan RGB. From understanding what RGB is to different methods to control it, we’ve got you covered. So let’s dive in and make your RGB dreams a reality!
Contents
Understanding RGB
Before we jump into how to control CPU fan RGB, it’s essential to understand what RGB is. RGB stands for red, green, and blue, which are the primary colors of light. When combined, these three colors create a wide range of colors and shades. RGB is also known as additive color because adding more light results in brighter and more vibrant colors.
In the world of computers, RGB refers to the colored lighting on devices such as keyboards, mice, and fans. These lights are controlled through software and can be customized to display different colors, patterns, and effects.
Now that we have a basic understanding of RGB let’s move on to how to control CPU fan RGB.
Method 1: Using Motherboard Software
One of the most common ways to control CPU fan RGB is through motherboard software. Most modern motherboards come with their own software that allows you to customize and control RGB lights connected to it. This method is convenient as you can control all your RGB lights in one place.
Step 1: Install the Software
The first step is to install the software provided by your motherboard manufacturer. The software will vary depending on the brand of your motherboard. Some popular ones include ASUS Aura Sync, MSI Mystic Light, and Gigabyte RGB Fusion.
Step 2: Connect Your RGB Fans
Once the software is installed, you can connect your RGB fans to the designated headers on your motherboard. Make sure to follow the instructions in your fan’s manual for the correct connections.
Step 3: Customize Your Lights
Now it’s time to play around with the software and customize your RGB lights. Most software will have a user-friendly interface that allows you to change colors, patterns, and effects. You can also sync your RGB lights with other components such as your keyboard or mouse for a cohesive look.
Method 2: Using a Controller
If your motherboard does not have software or doesn’t support RGB lights, you can use a controller instead. A controller is a small device that connects to your computer via USB and allows you to control RGB lights independently from your motherboard.
Step 1: Choose a Controller
There are various controllers available in the market, so make sure to choose one that is compatible with your fans. Some popular ones include the Cooler Master RGB LED Controller and the NZXT Hue 2 Lighting Controller.
Step 2: Connect Your Fans
Connect your fans to the controller according to the instructions provided by the manufacturer.
Step 3: Customize Your Lights
Similar to using motherboard software, you can now customize your lights using the controller’s software. You can adjust colors, brightness, and even create custom patterns.
Method 3: Using Remote Control
Another way to control CPU fan RGB is through a remote control. This method is suitable for those who don’t want to deal with any software or controllers.
Step 1: Purchase a Remote-Controlled Fan
To use this method, you’ll need to purchase fans that come with a remote control. These fans are usually plug-and-play, meaning you can simply connect them to your computer without any additional setup.
Step 2: Use the Remote Control
With the remote control, you can change colors, effects, and even adjust fan speeds. Some fans also come with preset modes such as a breathing effect or a color cycle.
Method 4: Using RGB Software
If you have multiple brands of RGB fans or components, using individual software for each one can be a hassle. However, there are third-party RGB software available that allow you to control different brands of RGB lights all in one place.
Step 1: Download the Software
Some popular software includes Corsair iCUE, Razer Synapse, and Thermaltake iTAKE Engine. Download and install the software on your computer.
Step 2: Connect Your Devices
Connect all your RGB devices to your computer. The software should automatically detect them.
Step 3: Customize Your Lights
Now you can use the software to customize your lights and create unique effects. You can even sync your lights with music or games for an immersive experience.
Conclusion
Controlling CPU fan RGB may seem like a daunting task, but with the right knowledge and tools, it can be easy and fun. Whether you choose to use motherboard software, a controller, or a remote, make sure to have fun and let your creativity shine through your RGB lights. With these methods, you’ll be on your way to creating a stunning and personalized computer setup in no time!

Information Security Asia is the go-to website for the latest cybersecurity and tech news in various sectors. Our expert writers provide insights and analysis that you can trust, so you can stay ahead of the curve and protect your business. Whether you are a small business, an enterprise or even a government agency, we have the latest updates and advice for all aspects of cybersecurity.


